Windows
Installing and setting up GlobalProtect agent
Note
Follow the procedure below only if you do not have the agent already installed. Otherwise, go directly to Adding new VPN connection to learn about how to configure and establish a VPN tunnel/connection to the Discoverer HPC infrastructure.
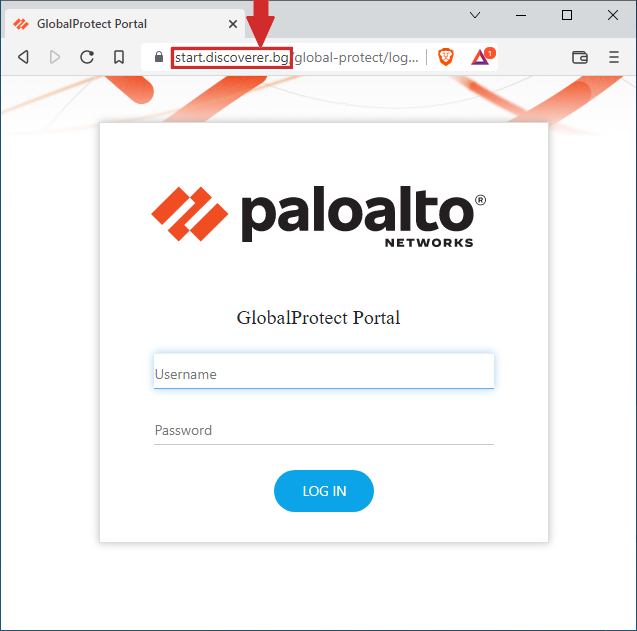
To download the installer, visit https://start.discoverer.bg and provide there your username and password:
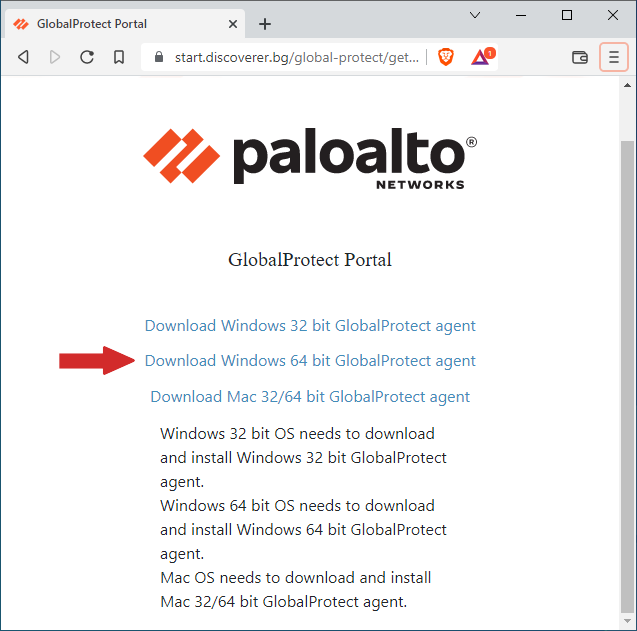
Click on the link to download the installer that matches your Windows 10 installation (presumably, the 64-bit one):
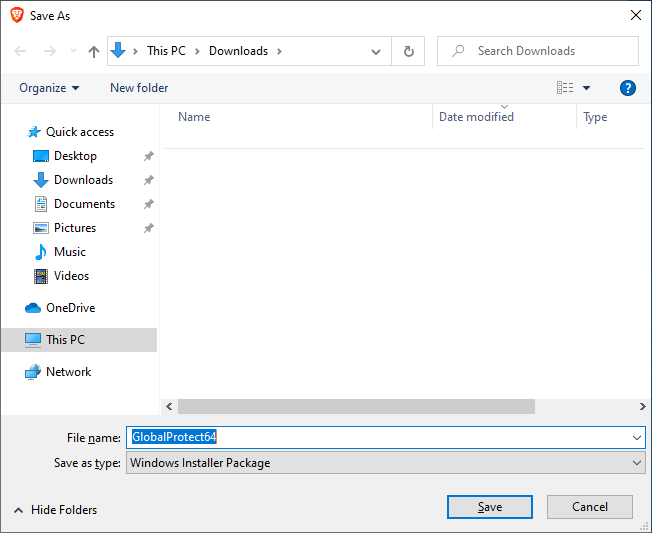
and save the file locally:
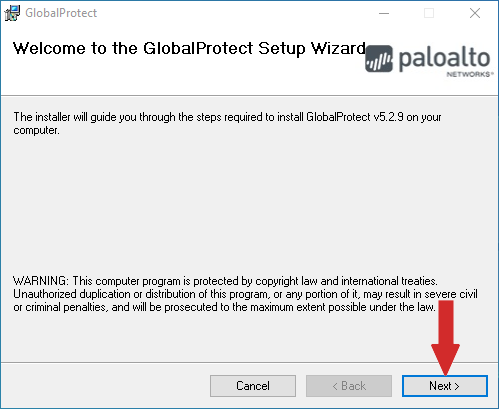
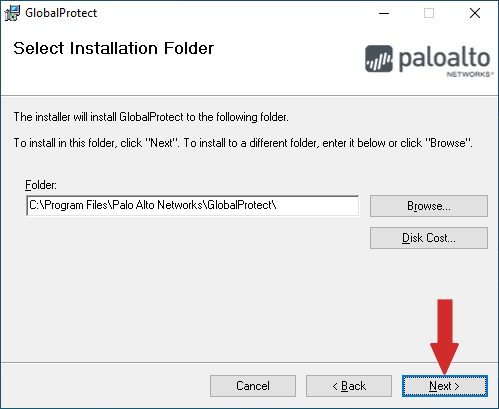
Run the installer (click twice on the stored file with the right button on the mouse) and then press “Next” in the installer’s window:
Unless you want to change the installation path (that is something the advanced users to decide), click “Next” again:
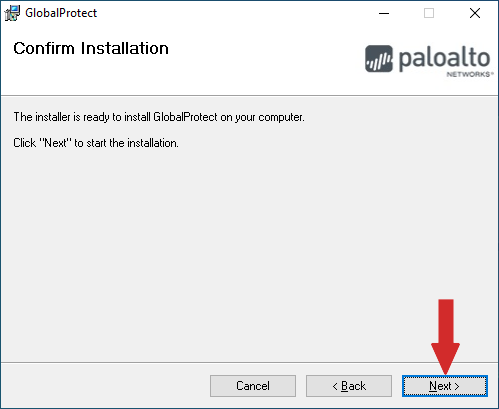
and again:
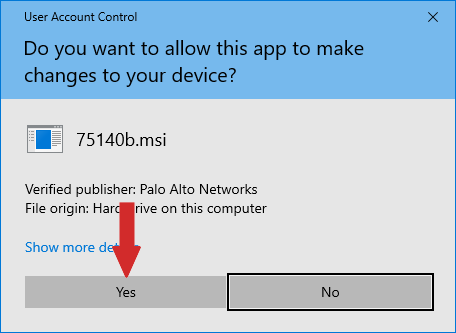
To delegate the installer permissions to modify the system, click “Yes”:
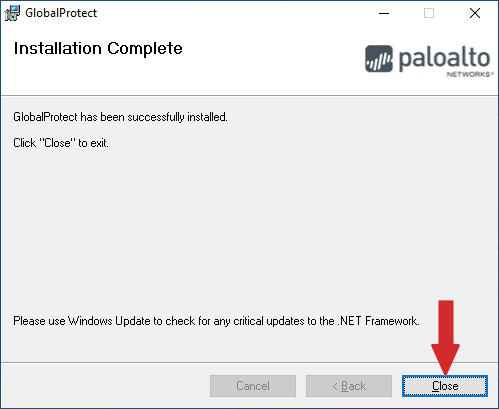
Wait for the installation to finish:
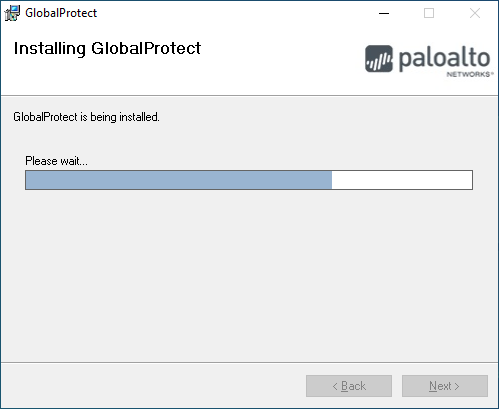
and press “Close” to exit the installer application:
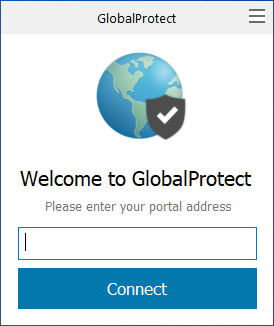
Upon completion, the installer will start the GlobalProtect agent and its window will appear on the display:
Note
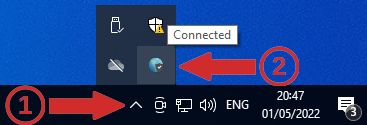
If accidentally, you click with the mouse somewhere else, that window might disappear. You migth restore its visibility by visiting the tray bar (1) and clicking on the agent’s icon there (2):
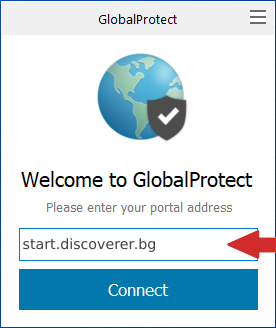
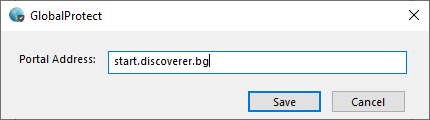
Specify start.discoverer.bg as a portal address:
then click on “Connect”, type your user name and password:
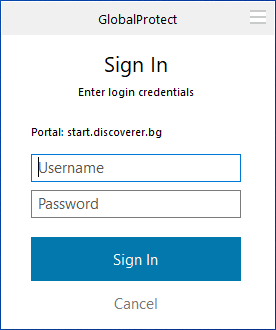
and press “Sign In” to establish the VPN connection/tunnel. If the supplied username and password are the correct ones, the following indication for established VPN tunnel will be shown:

along with a message-of-the-day (MOTD) in a pop-up window:

If you want to suppress MOTD from being shown again in the future, check “Do not show this again” and close that window.
Warning
GlobalProtect agent will start automatically with Windows. If you wish to disable that behavior of the agent, see Disabling the agent (advanced) below.
Disconnecting
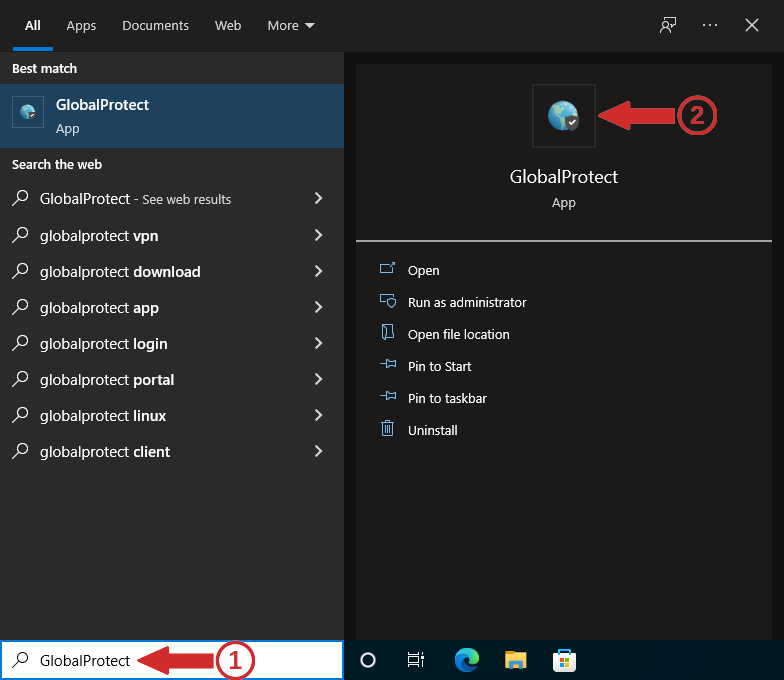
To disconnect a VPN connection (tunnel) that is already running, go to the Windows search bar and type there GlobalProtect (1) then click on the application icon (2):
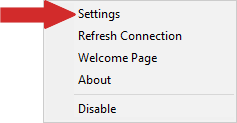
In the window of the agent, click on the menu button:

and select “Settings”:
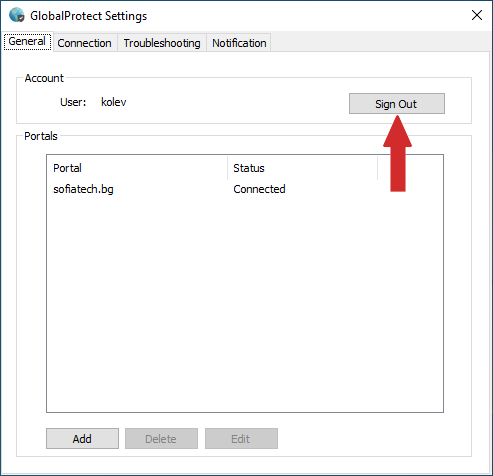
In “General” tab, press “Sign out”:
Connecting back
If you have your GlobalProtect agent disconnected (see Disconnecting) you can just run the agent again and sign in. Go to the Windows search bar and type there GlobalProtect (1) then click on the application icon (2):
and provide your credentials:
Adding a new VPN connection (advanced)
Note
You need to follow this section of the documentation only if you are already running GlobalProtect agent and it supports/manages other VPN tunnel(s)!
Go to the Windows search bar and type there GlobalProtect (1) then click on the application icon (2):
In the window of the agent, click on the menu button:
and select “Settings”:
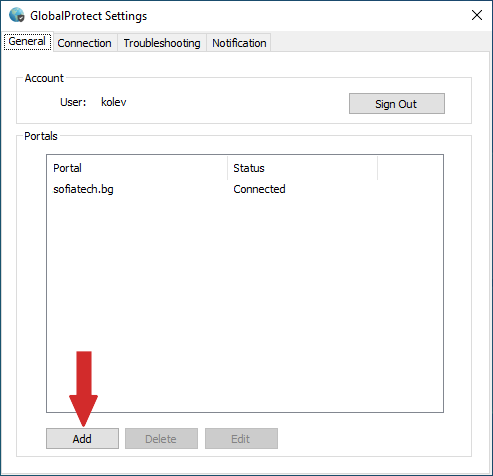
In “General” tab, press “Add”:
and type the host name of the portal address:
Open the agent window again (see the procedure above) and this time there will be a selector for supporting the transition between the VPN connections (tunnels). Select the one pointing to start.discoverer.bg:

then enter your username and password (they will be stored).
Disabling the agent (advanced)
By default, the GlobalProtect agent is running in the background as a service. You may disable the agent, mainly for preventing it from automatically establishing VPN connections (tunnels). To do that,
Go to the Windows search bar and type there GlobalProtect (1) then click on the application icon (2):
In the window of the agent, click on the menu button:
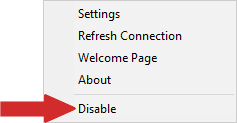
and select “Disable”:
Diagnostics
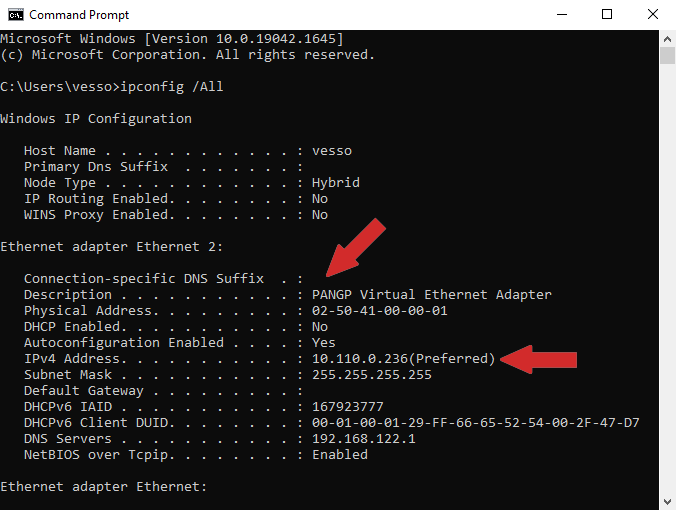
To check the status of the VPN virtual Ethernet adapter, as well as to find the IPv4 address locally assigned to the end of the tunel, type “cmd” in the Windows search bar (1) and then click on the “Command Prompt” application icon (1):

Then type “ipconfig /All” in the command prompt window and find in the output the entry with a description “PANGP Virtual Ethernet Adapter”:
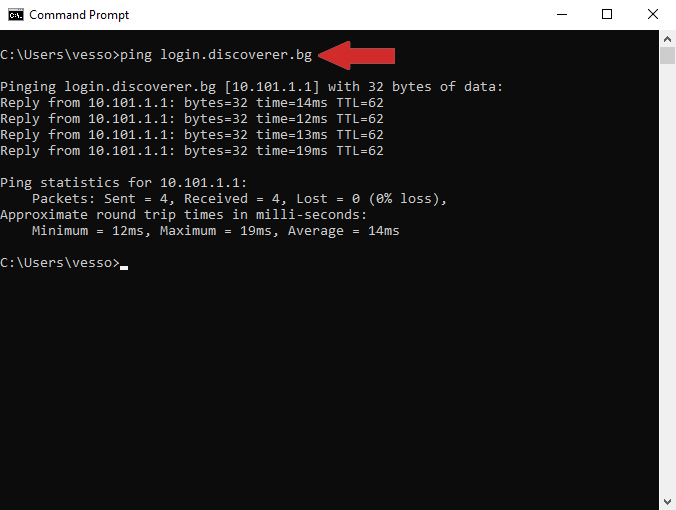
You may also check if the login node is reachable through the VPN tunnel:
Getting help
See Getting help