Linux/NetworkManager
Installing the VPN client
Note
The solution is based on openconnect package and therefore requires proper support for Global Protect protocol there in. Read Linux/Command Line to check if your Linux distribution is known to have problems with the Global Protect protocol implementation.
RHEL/Rocky/AlmaLinux/Fedora
Open a terminal and type there:
sudo dnf install epel-release
sudo dnf update epel-release
sudo dnf install NetworkManager-openconnect-gnome
Debian/Ubuntu
Open a terminal and type there:
sudo apt install network-manager-openconnect-gnome
Settig up the VPN connection
Click with the mouse on the right upper corner of your GNOME desktop (where the icon for WiFi and Ethernet connectivity is placed). Then in the diplayed menu click on the “Settings” button (see where the red arrow points at in the picture below):

In the “Settings” window choose “Network” (1) and then press on the “+” sign (2) as it shown below:

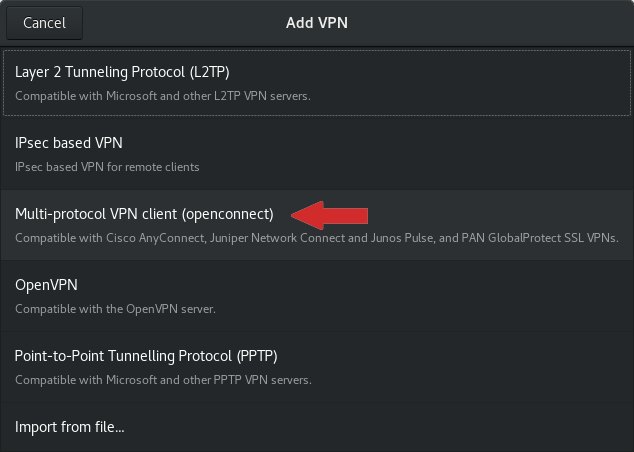
In the selection next choose “Multi-protocol VPN client (openconnect)”:
Set “Discoverer” as a name of the connection (1), choose “Palo Alto Networks GlobalProtect” from “VPN Protocol” menu (2), enter start.discoverer.bg as “Gateway” (3), and press “Add” to save the configuration (4):
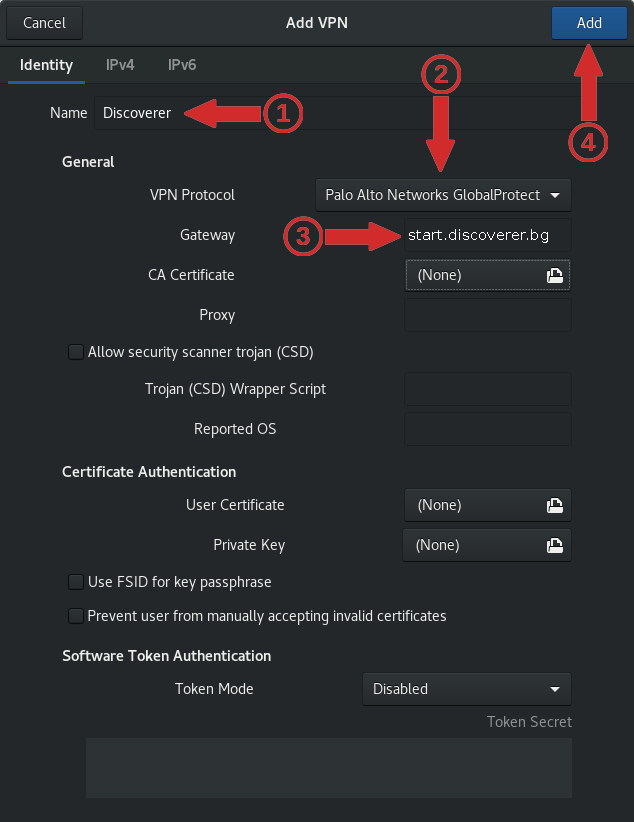
That will bring back the set-up to “Network” in “Settings”, where the newly created VPN configuration profile will appear in the list of configurations under the name “Discoverer”.
Getting connected
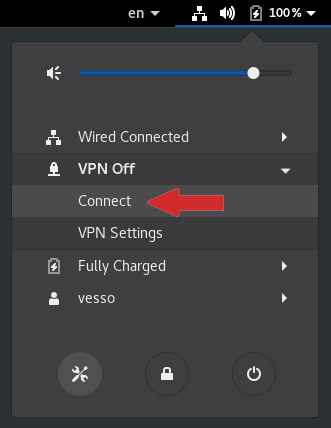
Click with the mouse on the right upper corner of your GNOME desktop (where the icon for WiFi and Ethernet connectivity is placed). Then in the diplayed menu click on the “Settings” button (see where the red arrow points at in the picture below):

Select “Connect”:
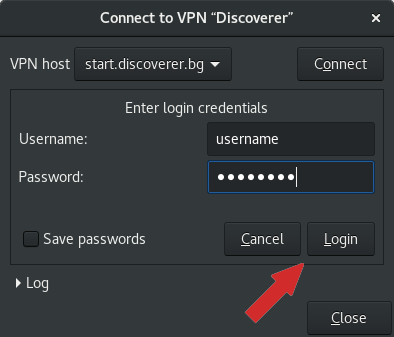
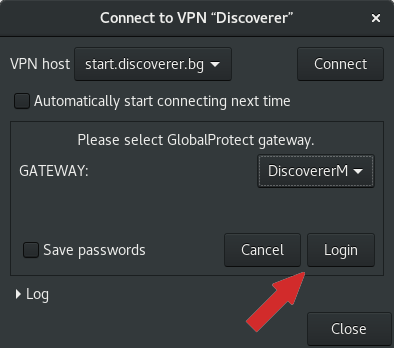
provide your user Discoverer name and password, then click “Login”, and after that click “Login” again:
Disconnecting
Warning
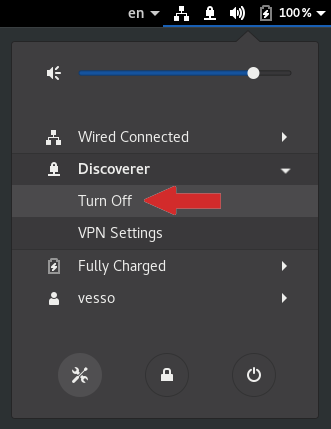
You can stop only an established VPN tunnel!
Click with the mouse on the right upper corner of your GNOME desktop (where the icon for WiFi and Ethernet connectivity is placed). If the VPN tunnel is established, you will see its icon and name. Then click on “Discoverer” and in the expanded menu select “Turn Off”:

Diagnostics
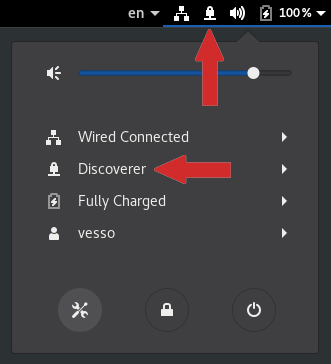
If the VPN connection is successfully established (the VPN tunnel is active), a special icon (VPN connectivity indicator) will appear in the tray, as well as the name of the VPN connection “Discoverer” will be displayed in the list of active connections (see the red arrows below):
Try to ping the login node:
ping login.discoverer.bg
to proove that the internal infrastructure of Discoverer HPC is accessible.
Getting help
See Getting help