Convert PuTTY SSH Key Into OpenSSH Format
About
You need to follow the instructions below only if you need to use a key-pair generated by PuTTYgen (or stored that way) on a system that reads OpenSSH formatted keys (Linux or macOS based desktop and server systems).
Loading the key
You must have the latest PuTTY installed along with its tools (PuTTYgen is part of that tools). If you do not have PuTTYgen executable available, download and run the PuTTY installer available at:
Warning
Always run the most recent version of PuTTY tools.
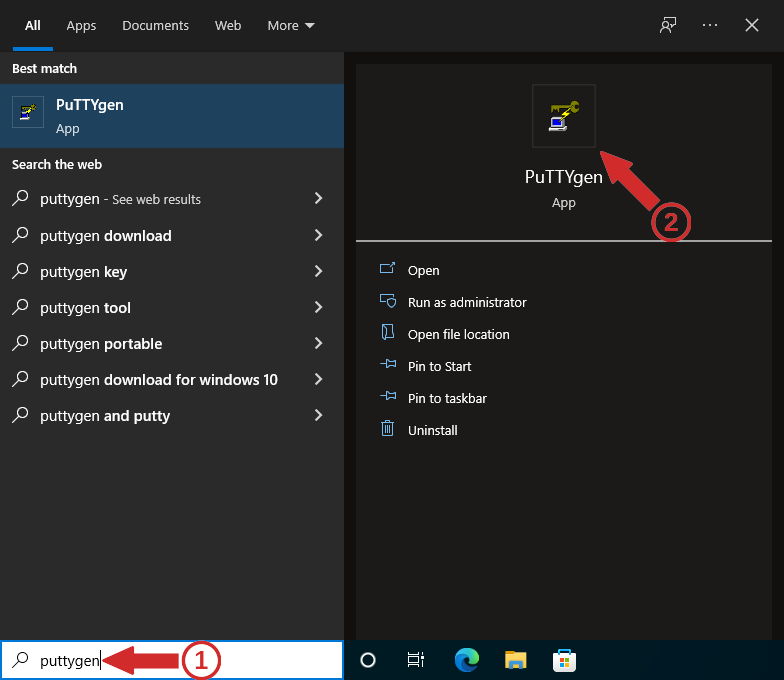
To run PuTTYgen go to the seach bar of Windows, type there “puttygen” (1), and click on the application icon (2):
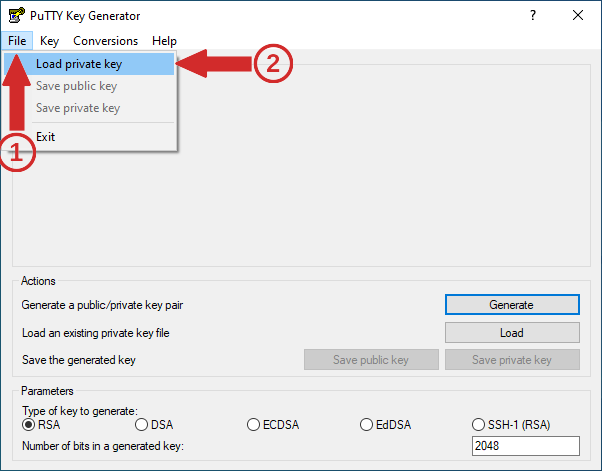
In the applicaton window, open the “File” menu (1) and select “Load private key” (2):
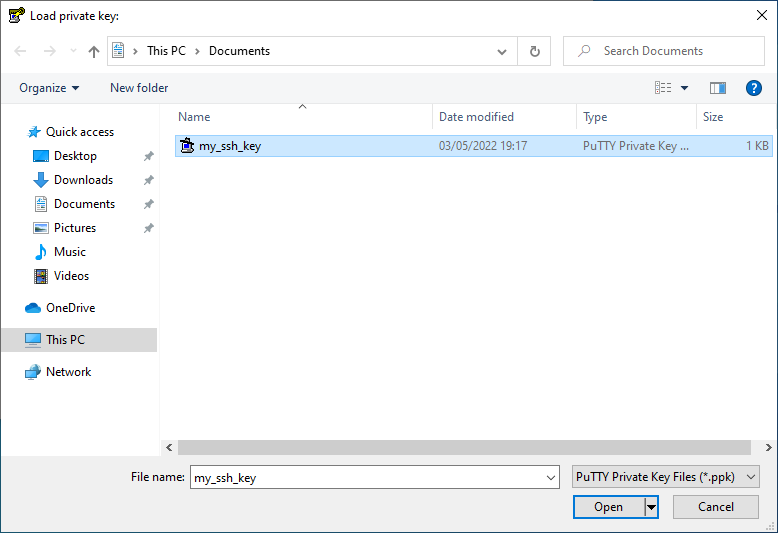
Select the file containing the private key in PuTTY format:
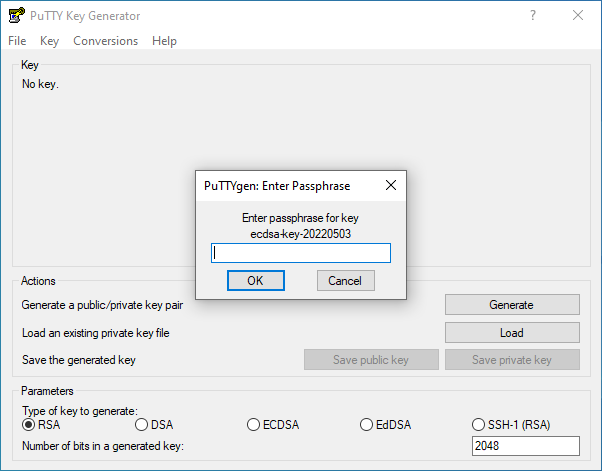
and provide the password that decrypts the key:
Convert private key
Upon the succesfull key loading, press on the “Conversions” menu (1), from there select “Export OpenSSH key” (2):
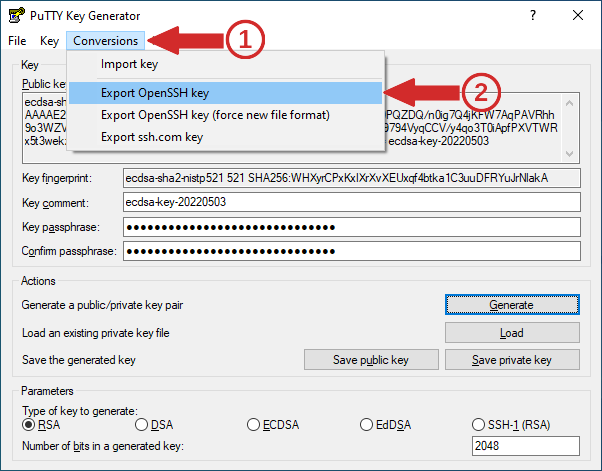
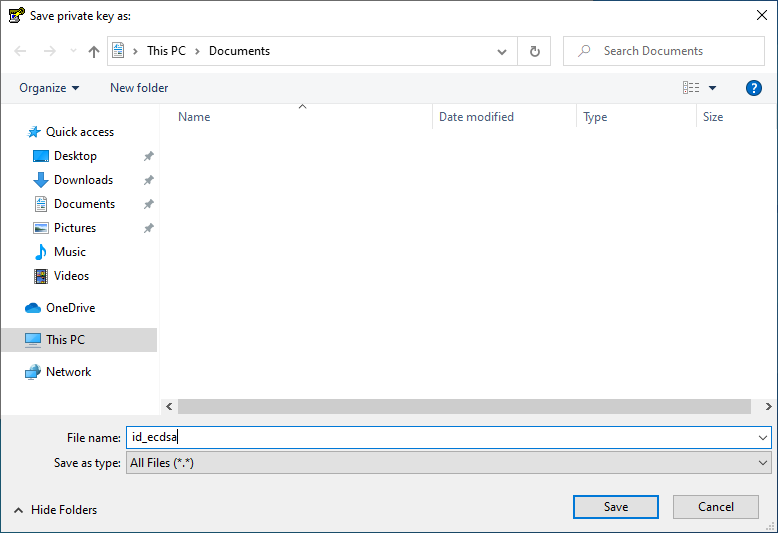
and choose under what name (and where) to save the file containing the OpenSSH formatted private key (if the converted key is RSA-based, then use “id_rsa” instead of “id_ecdsa” as a file name):
Warning
The key will be encrypted with the password previously typed during the content loading.
Now you can transfer the newly created file with the OpenSSH formatted private key to your Linux or macOS system and store it under the ~/.ssh folder.
Note
On your Linux or macOS system, do not forget to establish the right permissions on the transferred file:
chmod 600 ~/.ssh/id_ecdsa
or
chmod 600 ~/.ssh/id_rsa
Convert public key
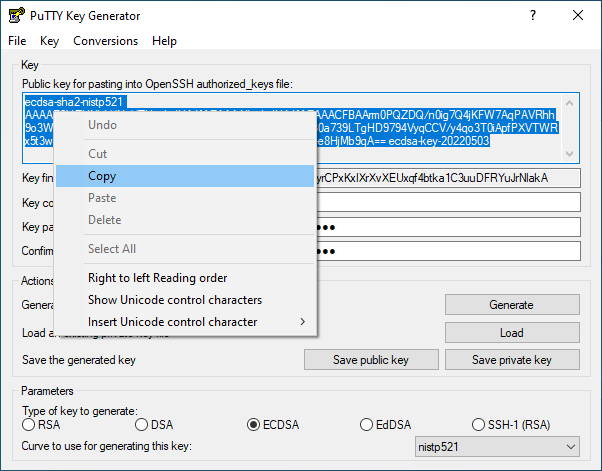
Once the PuTTY formatted key is loaded, select the content of the public key as shown below and copy that selection:
Warning
If you need to convert the public key only for the sake of of the onboarding process, then just paste the selection into the e-mail body when replying to the onboarding request.
In that case, you do not need to save the public key in a file and follow the step explained below!
Then open Notepad and paste the selection there:
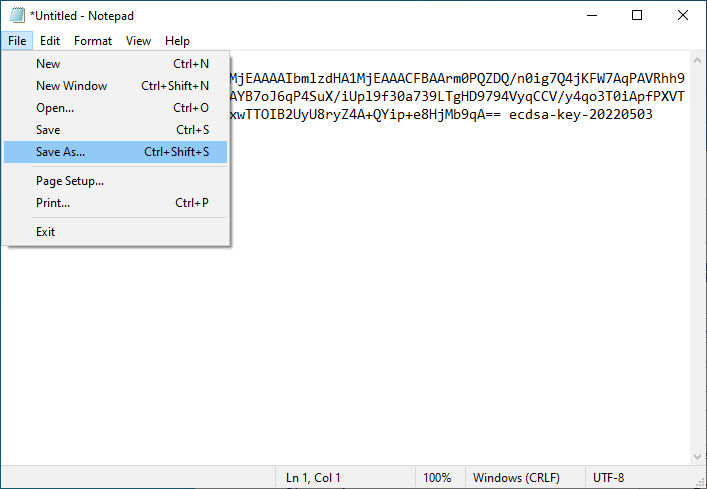
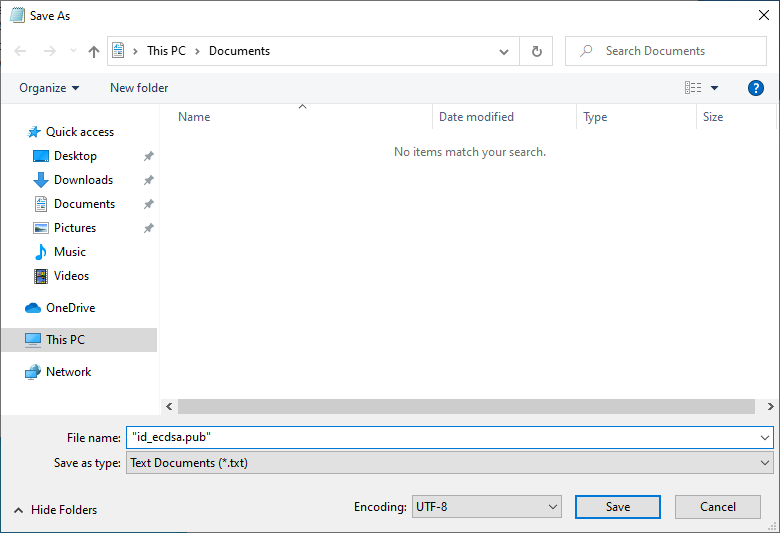
Save the content under “id_ecdsa.pub” or “id_rsa.pub” file name (depending on what algorithm was used to derive the keys), and do mind the quotes surrounding the file name:
Now you can transfer the newly created file with the OpenSSH formatted public key to your Linux or macOS system and store it under the ~/.ssh folder.
Getting help
See Getting help